VMware Data Services Manager v1.3.2 – Architectural Overview and Provider Deployment
In a recent post, I highlighted how VMware Data Services Manager (DSM) is designed to help vSphere Administrators control and manage the deployment of many disparate databases on their vSphere infrastructure. At the same time, I discussed how DSM is also designed to provide self-service to developers when they need to quickly provision a new database. This avoids the often prolonged ticketing system to engage IT to roll out the database on behalf of developers. In this post, I am going to take a more practical look at DSM, with a goal of rolling out the ‘Provider’ part of the product using version 1.3.2 which is currently the latest release. In a later post, we will look at the Agent deployment, before finally rolling out some databases.
Architectural Overview
Before we begin the deployment task, lets start with an overview of the architecture components in DSM. This diagram is taken from the Small Footprint Deployment in the official documentation, and shows the major components.
 The main item to highlight here is the requirement on S3 Object Stores. For the purposes of my deployment, I am using MinIO as I have done so numerous times in the past. I have deployed an Ubuntu Linux VM, and used the Linux MinIO Server, found here. Of course, other S3 Object Stores are available, and for production purposes, you should spend some time in deciding which is best for you. Note that S3 Object Stores are used extensively in DSM. They are used to store database templates, logs as well as provider and database backups.
The other item to highlight, which is not shown clearly in the above diagram, are the networking requirements. There are 3 networks to consider when deploying DSM. The first is the Management (External/Public facing) network. This is configured on the Provider to provide communication to the vCenter server and ESXi hosts. The second network which is configured on both the Provider and Agent(s) is the control plane network, and is used by the RabbitMQ message broker. The final network to consider is the Application network. This is the network on which the databases are provisioned. The Hardware and Software Requirements section of the official documentation discusses the database requirements and has the following network diagram which is a useful visual aid.

A few things to highlight regarding the network requirements:
- There must be a route between the control plane network and the management / external network. This is also referred to as the corporate network where the vCenter Server and ESXi hosts reside.
- The Agent VMs, which are only connected to the control plane network, must be able to resolve the vCenter and ESXi hosts FQDNs, so should be able to communicate to the corporate DNS server(s) and NTP server(s).
- While it appears that a DHCP server exists on the both the control plane and application networks, it should not be used to configure the control plane network for the Provider or the Agent. It should only be used to provide IP Address to the database instances. The Provider and the Agent control plane interfaces should be provided with static IP addresses. This is to facilitate recovery methodologies in the event of a failure. While this is mentioned in the docs, the appliance does allow DHCP configuration for the control plane networks – this should be avoided.
Provider Deployment
With all this taken into consideration, we can begin the deployment of the Provider. The Provider is available as a .OVA (Open Virtualization Appliance) download from both VMware Tanzu Network and VMware Customer Connect. The product name is Data Management for VMware Tanzu and the current version is 1.3.2. The OVA deploys in the normal way via the vSphere Client UI, and the fields that should be populated relate predominantly to the networking configuration of the appliance. Here is what the summary field of my Provider OVA deployment looks like, with the IP addresses obfuscated.

The Provider Administrator’s email, in this case chogan@rainpole.com, is used as the login to the DSM UI. The RabbitMQ Default Gateway is the default gateway for the control plane network. As mentioned, RabbitMQ is the messaging broker used for communication between the Provider and the Agents.
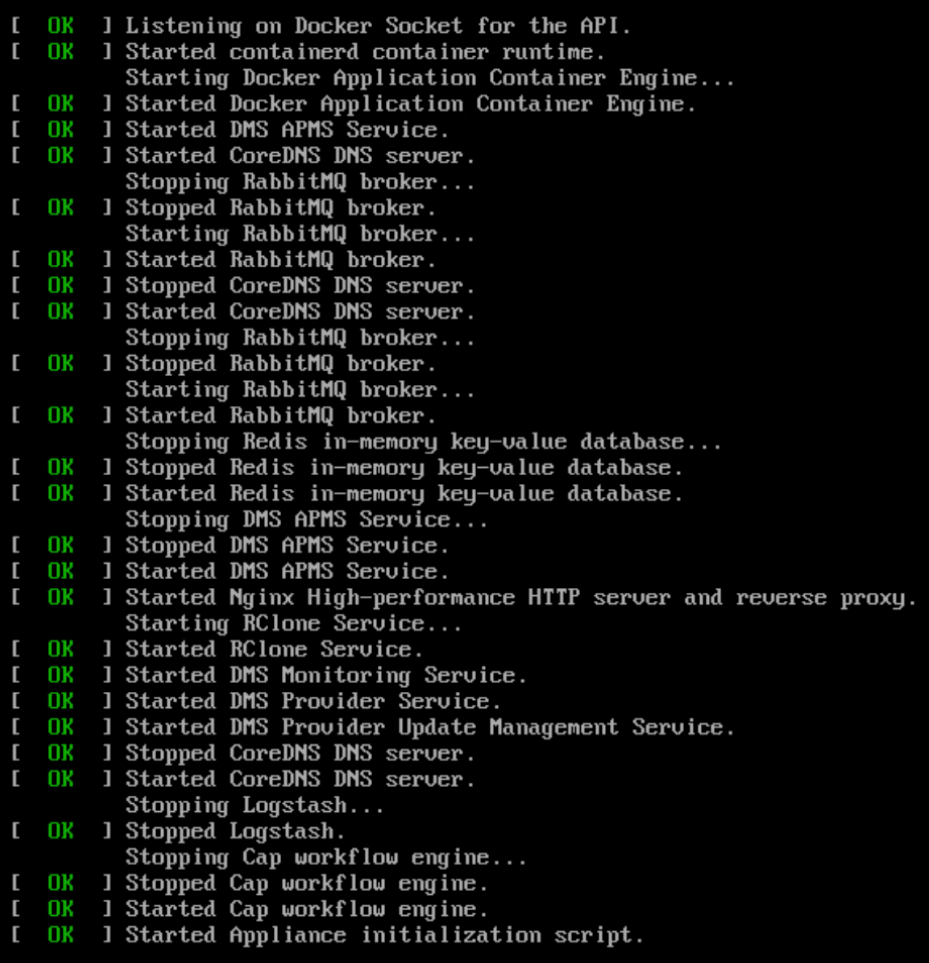
After deploying the OVA, you will need to wait a few minutes for the configuration to complete. I found the easiest way to do this is to open the VM console, and wait for the ‘Started Appliance initialization script’ message to appear. These configuration start-up steps appear after the login prompt has appeared on the console.
At this point, you should be able to point a browser to the Provider’s management IP address or FQDN using https and logging in using the Provider Administrator’s email and password which was supplied as part of the setup during the OVA deployment. The initial dashboard should look something like this, with 1 organization defined and 1 user configured.

Additional Configuration Steps
There are a number of configuration steps now required. These can be summarized as follows.
- Add a Tanzu Net Token
- Provider Repo Url
- Provider Log Repo Url
- Provider Backup Repo Url
The creation of Environments, Namespaces, and Databases is only possible after the Agent has been installed. This will be done in a future post. In the remainder of this post, we will configure the 4 items mentioned above.
Add a Tanzu Net Token
In the DSM UI, select the Settings option in the navigation bar on the left hand side. This will drop you into the Information view, where it should be possible to see that the Tanzu Net Token is not yet configured. This is required to download database templates.

The Actions menu allows a token to be added, but first the token must be retrieved from the Tanzu network portal, https://network.pivotal.io/. Select ‘Edit Profile’ from your username drop-down list. Locate UAA API Token, and click on the ‘Request New Refresh Token’ button next to it. Copy the token and add it as a Tanzu Net Token in the above setting. Once added, the status field should change to a status of ‘Configured’.
Storage Settings – Repo Urls
There are now three Repo Urls to add. These are all S3 Object Store buckets, and should be created beforehand. The three buckets that I created for the repositories are using the MinIO server mentioned earlier. The next step is to configure these under the Settings > Storage Settings view. Initially, the three repos will show as not configured under External Storage.

Under the Actions column associated with each Repo, click on the 3 dots to reveal the configure option. Each of the buckets created previously should now be added for each setting type, along with the necessary object store access key, secret key and bucket name. Once the repositories are configured, the Provider Repo bucket should immediately start to populate with database template information, assuming that the Tanzu Net Token is already in place. These should also become visible in the DSM UI, under the Database Templates view.

Currently, all templates have a status of ‘Available’. In order for the Provider Administrator to make them available to organizations, and eventually developers, the templates need to be published. This is available as an action under the actions menu. Click on the three dots associated with actions for any templates you wish to publish and click the option Publish.
Organization and VM Plans
At this point, the Provider Administrator can begin to consider the creation of Organizations (Orgs) and VM Plans, both of which are visible in the left hand navigation pane in the DSM UI. Organizations allow the Provider Administrator to delegate permissions to Organization Admins to control access to databases, and delegate ownership of databases to developers. VM Plans allow control over resource usage. In other words, a plan can be used to define the number of vCPUs and the amount of memory that is allocated to virtual machines which run the databases. When we deploy an Agent in a future post, we will see how Namespaces can control overall vSphere resource usage by organizations and developers, but VM Plans allow fine grained control over the size of virtual machines that can be created. Orgs can also be created in ‘Free mode’ allowing VMs of any size to be created. However, Orgs created in ‘Plans mode’ mean that database VMs can only be provisioned according to sizes defined in a VM Plan. Here is an example of an org creation using Plans mode.

We are now ready to deploy an Agent and complete the setup. This will allow us to create Namespaces, and deploy databases. If you checked the Environments section prior to the configuration steps, you would have noticed that it reported that the Provider status is ‘Manifest Not Processed’. At this point however, it should now report that the Provider status is ‘Ready to Onboard’, meaning that it ready to have an agent deployed and configured.

That completes the setup of the Provider OVA. In the next post, the Agent OVA will be deployed and configured (on-boarded). We will then revisit the DSM UI to complete the configuration (Namespace creation) and demonstrate database deployment steps.
3 Replies to “VMware Data Services Manager v1.3.2 – Architectural Overview and Provider Deployment”
Comments are closed.