Getting Started with Data Services Manager 2.0 – Part 1: Infrastructure Policies
![]() At VMware Explore 2023 in Barcelona, we made a big announcement about VMware Data Services Manager (DSM) version 2.0. In the upcoming series of blog posts, I will introduce you to the new features of DSM version 2.0. One major shift in focus is that DSM 2.0 is squarely aimed at the vSphere Administrator, allowing them to control which resources are consumed by the various data services deployed via Data Services Manager. Thus, in this first post, we will primarily focus on an integral feature of DSM 2.0 called Infrastructure Policies.
At VMware Explore 2023 in Barcelona, we made a big announcement about VMware Data Services Manager (DSM) version 2.0. In the upcoming series of blog posts, I will introduce you to the new features of DSM version 2.0. One major shift in focus is that DSM 2.0 is squarely aimed at the vSphere Administrator, allowing them to control which resources are consumed by the various data services deployed via Data Services Manager. Thus, in this first post, we will primarily focus on an integral feature of DSM 2.0 called Infrastructure Policies.
Note: DSM version 2.0 is not yet generally available. Therefore some of the screenshots captured in the upcoming posts may differ slightly in the final product. However, for the purposes of our getting started series of posts, this should not matter.
DSM Client Plugin Installation
The deployment of DSM 2.0 is very simple. We provide an OVA which is installed as a Client Plugin in vCenter. In the vSphere Client, navigate to Administration > Solutions > Client Plugins. Click on the ADD button and deploy the OVA in just the same way as you would provision any other OVA. After the installation is complete, you will need to refresh your browser running the vSphere Client so as to see the new features that DSM 2.0 introduces.
Infrastructure Policies
After the plugin has been installed and the browser refreshed, navigate to vCenter > Configure > Data Services Manager > Infrastructure Policies. This should display a landing page similar to the following:
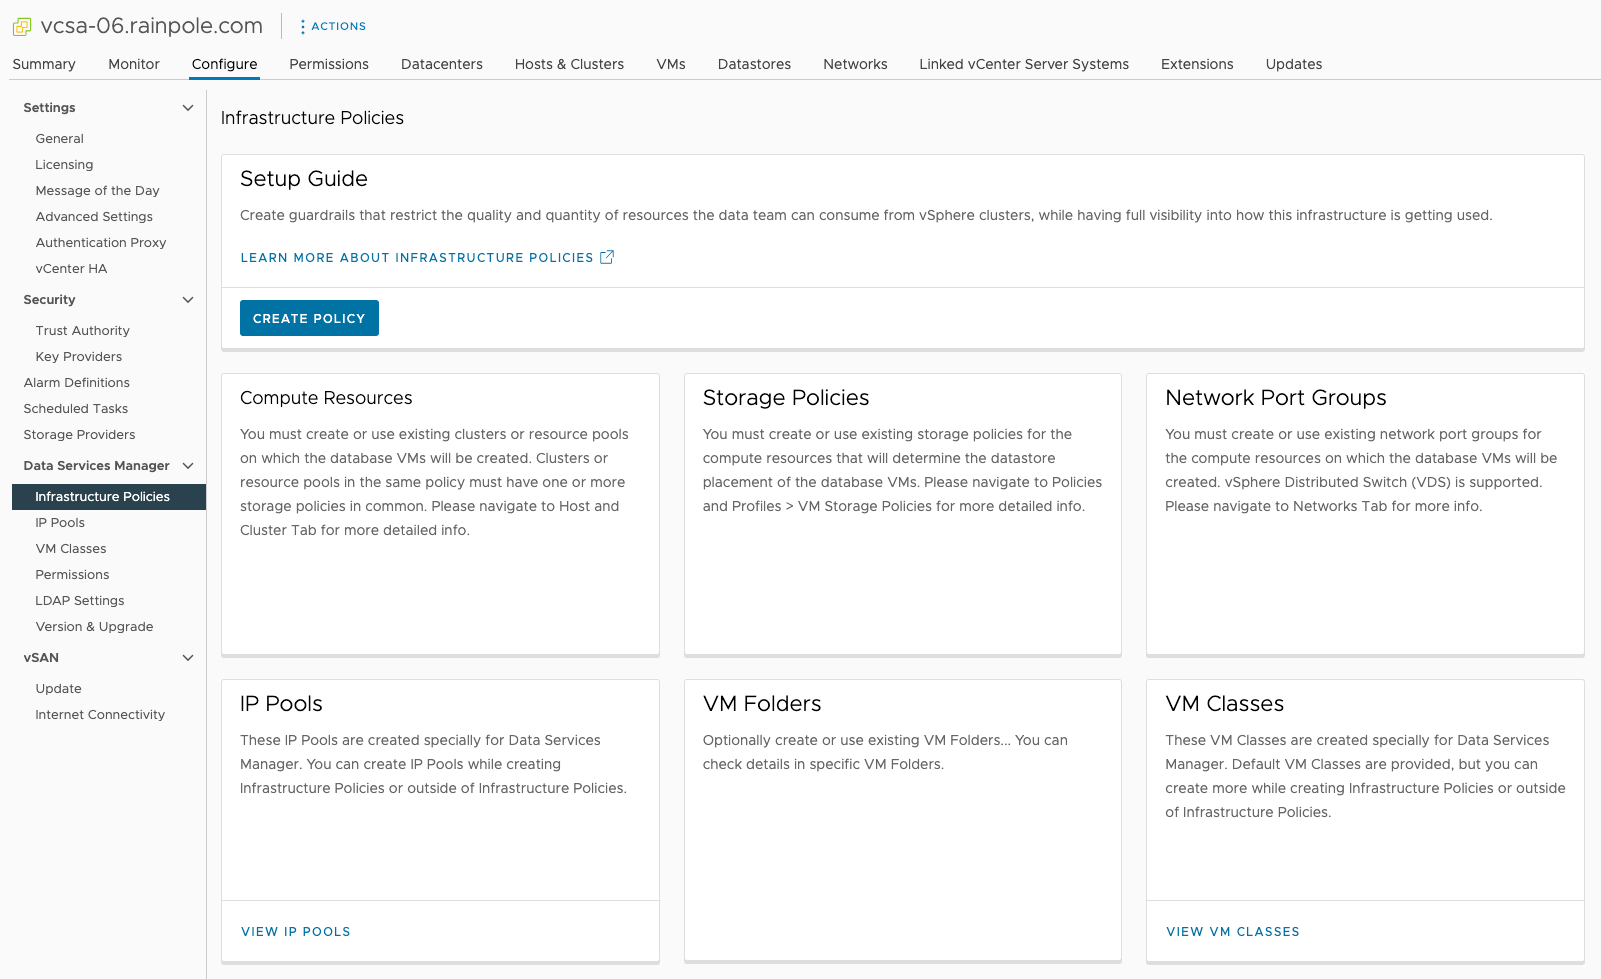
As you can see, there are number of components that go to make up an Infrastructure Policy. The purpose of an Infrastructure Policy is for a vSphere Administrator to define which resources from the vSphere Infrastructure can be consumed for the purposes of provisioning data services via DSM. Therefore, and Infrastructure Policy includes compute, storage, network and virtual machine resource details. Let’s go ahead and create a new Infrastructure Policy so you can see how it works.
Policy Details
Policy Details simply requires a policy name and optional description. If you are not yet ready to make the policy available for data service provisioning, you can disable the policy and it won’t appear available when provisioning data services. By default, the policy is enabled.

Compute Resources
An infrastructure Policy can choose one or more vSphere Clusters or it can choose one or more Resource Pools for Compute Resources. An example of both is provided below.


Storage Policy
After selecting compute resources, the next step is to choose storage. This is achieved by selecting a storage policy. Whilst those of you familiar with vSAN and Virtual Volumes might be quite familiar with Storage Policies, those of you that use VMFS and NFS may not be quite so au-fait with the concept. Rest assured that VMFS and NFS can also be used for DSM, but you will probably have to create a tagged-based policy to select those datastores. In the example shown here, since I am using vSAN as my storage layer, I simply selected the default vSAN storage policy. Note that if the Compute Resource has access to multiple vSAN datastores (OSA, ESA, HCI-Mesh), you may also wish to introduce some tagged-based policies to differentiate the different vSAN datastores.

Note that at this point, multiple storage policies may be selected. If more than one is selected, then when it comes to provisioning the data service, the desired storage policy is chosen from the list. We will see this when we provision a data service in a future post.
Network Portgroups
The next step is to select which network the data services deployed by DSM will be connected to. This is achieved by selecting one or more portgroups from the list of available portgroups. Note that DSM require that these portgroups be distributed portgroups, so there is a dependency on having a distributed switch configured before using DSM. In this example, I am going to choose two different distributed portgroups. When it comes to deploying a data service later on, I can choose either of these networks to connect my data service to.

IP Pools
Data Services Manager leverages the concept of IP Pools for assigning IP addresses to the data services. There are no existing IP Pools at deployment time, so the vSphere Administrator needs to create IP Pools for each of the distributed portgroups selected in the previous step. This is an example of what might be added to an IP Pool.

Note that you can create multiple IP Pools, one for each portgroup for example. Once the IP Pools are created, they need to be associated with the distributed portgroups created earlier.
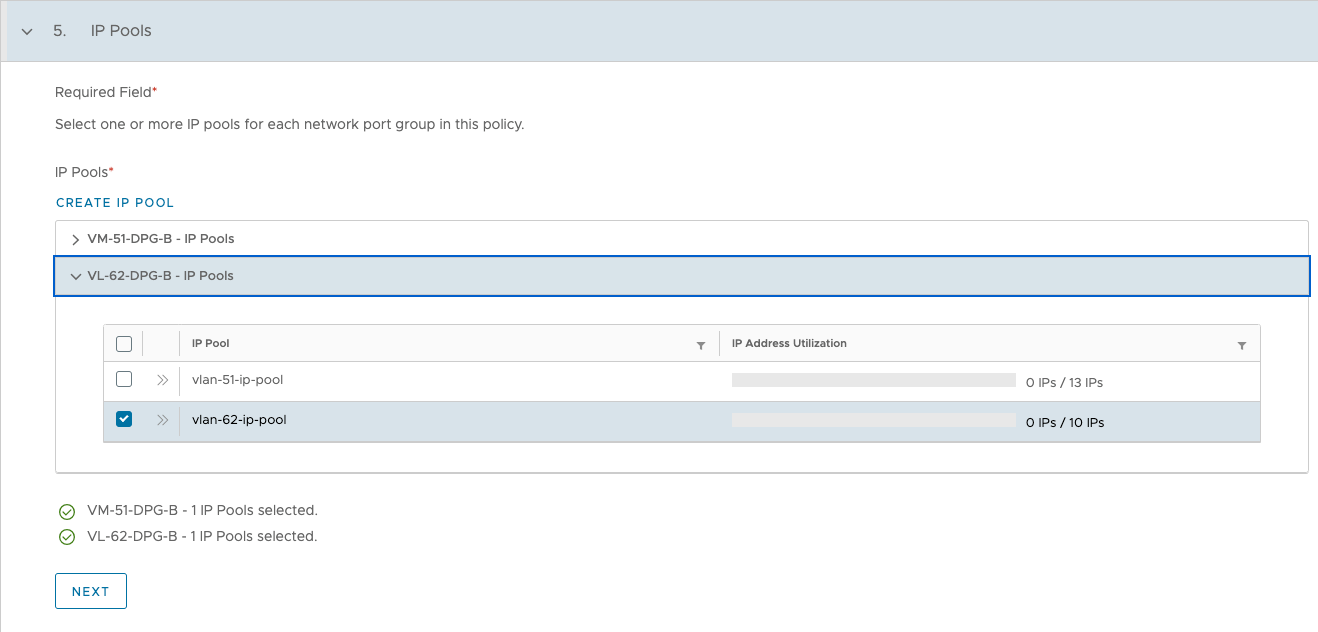
Note that as the portgroups are assigned to IP Pools, a status is reported at the bottom of this window to highlight whether or not all portgroups have IP Pools associated with them. In this example, both distributed portgroups now have an IP Pool, so we can proceed to the next step.
VM Folder
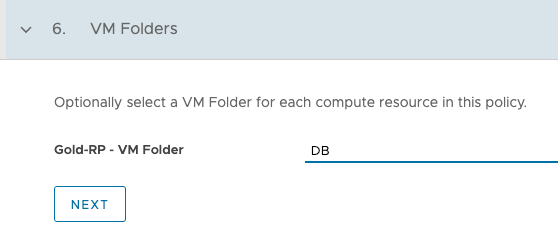
This is an optional step. It simply allows you as the vSphere Administrator to select a folder to place the VMs associated with a deployed data service. If multiple Compute Resources are chosen for this infrastructure policy, you choose a folder to use for each. Then when it comes to provisioning a data service, the selection of a Compute Resource also defines the VM folder.
VM Class
We now come to a concept that might be new to many readers, unless you have used the vSphere with Tanzu product in the past. A VM Class is essentially defining the size of the VM that is created to host the data services. Do not confuse this with vSphere with Tanzu by the way; in DSM 2.0 there is no Tanzu Kubernetes. In a later post, we will get into the internal workings of DSM and explain how it all ties together. But for now, even though we are discussing VM Class, there is no vSphere with Tanzu.
The whole point behind a VM Class is to avoid the provisioners of data services from building monster VMs, consuming far more resources than necessary for hosting the data service. And while we ship DSM with some cookie-cutter VM Classes (small, medium, and large) you can also build your own. Here is an example of how to create an extra large (x-large) VM Class.
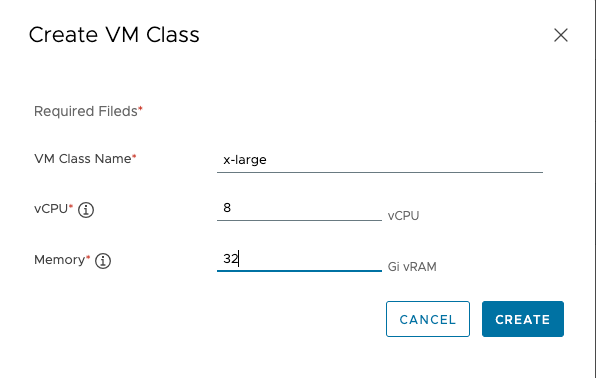
After creating the above VM Class, I now have the following list available for selection. As with many other options in the Infrastructure Policy, the vSphere Administrator can select multiple VM Classes to include in the policy. At data service deployment time, the list of VM Classes chosen with the Infrastructure Policy are displayed and the appropriate one can be chosen from the list.

Review
That completes the creation of the Infrastructure Policy. The final screen gives you an overview of the components selected for inclusion in the Infrastructure Policy. If everything appears as expected, the vSphere Administrator can click on the Create Policy to build the policy.

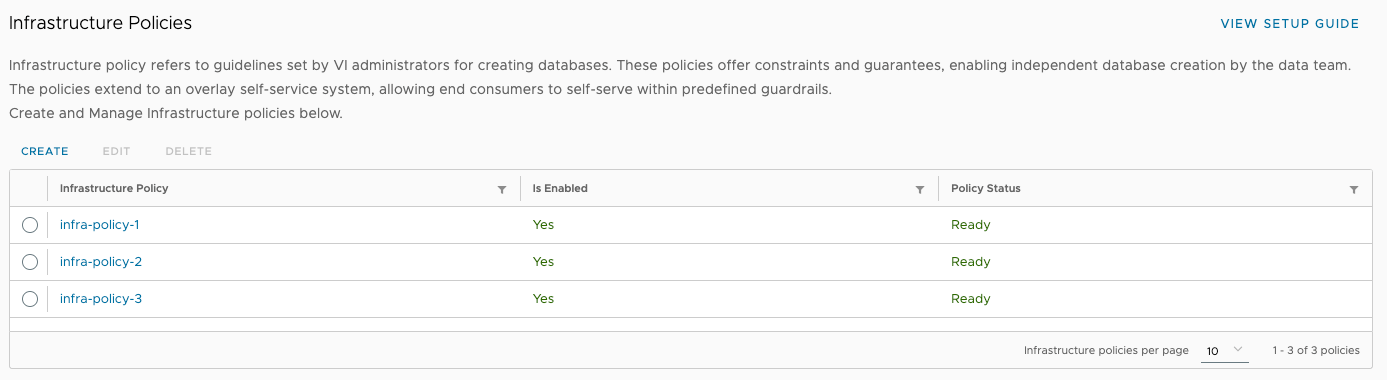
Of course, a vSphere administrator may want to build multiple different Infrastructure Policies, each with different compute resources, storage resources, networking and even VM Classes. This is of course possible with DSM. Here is a list of infra policies that I created on the same vSphere infrastructure, but choosing different compute, network and storage.
Create Permission
Now that the Infrastructure Policy is created, we are almost ready to provision a data service. However, there is one additional step that the vSphere Administrator must carry out, and that is to create a DSM Admin. This DSM Admin can then proceed with the configuration steps in the Data Service Manager. This will be the subject of the next blog post.
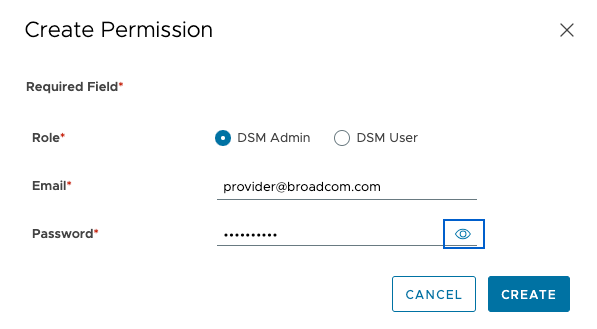
To create a Permission, navigate to vCenter > Configure > Data Services Manager > Permissions. In this example, I am creating a DSM Admin user called provider@broadcom.com. This workflow also allows you to create DSM Users but DSM User do not have the ability to configure DSM. DSM User can only provision data services.
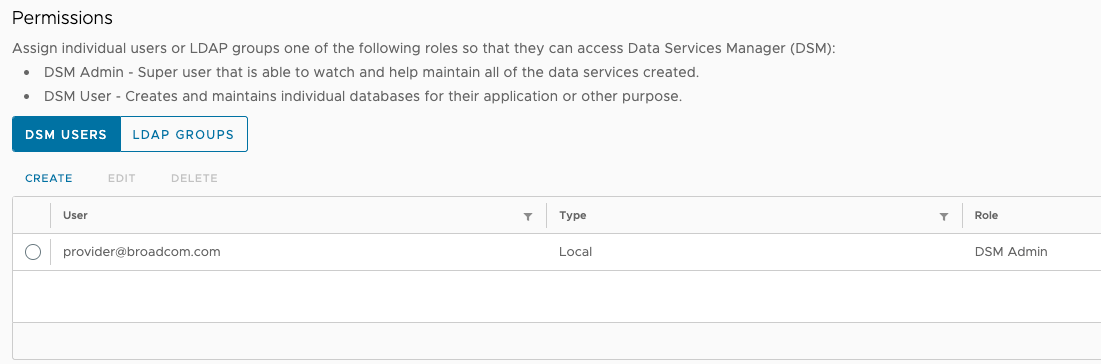
Once added, the DSM Admin should appear under Permissions, as shown below.
And that completes the steps for the vSphere Administrator to enable Data Services Manager version 2.0. Check back shortly where I will describe the steps to configure the Data Service Manager as well as deploy our first data service.
4 Replies to “Getting Started with Data Services Manager 2.0 – Part 1: Infrastructure Policies”
Comments are closed.