A closer look at ECS (Elastic Cloud Storage) running on vSAN
 This week I had the opportunity to take a closer look at ECS, the Elastic Cloud Storage product from DELL-EMC. ECS normally ships as a physical appliance, composed of multiple nodes/servers, but there is also a community edition available which is FREE with no time limit for non-production use. You can download it from here, and deploy it across VMs. Now I’ve already been looking at various ways to provide an S3 object store on top of vSAN, such as MinIO and Scality. What is interesting about ECS is that not only can it provide you with an S3 object storage, but it can also provide HDFS for Hadoop, Swift and NFS for file services. I decided to deploy this on my 4-node vSAN cluster, and I rolled out 4 x ECS VMs, one per vSAN node. To each ECS node, I provided a ~100GB VMDK, which was instantiated as a RAID-5 volume in my vSAN cluster. While the complete set of steps for doing a deployment are located here, I condensed down the steps involved in rolling this out on vSAN.
Minimum virtual hardware requirements
- 4 x VMs running CentOS 7
- 16GB Memory
- 4 vCPUS
- Boot Disk – 16GB
- Data Disk – 104GB
Once I had deployed my 4 VMs, I used DRS affinity rules to pin each VM to its own ESXi host in the vSAN cluster. All of my disks were RAID-5, but there is no reason why you should have to use this configuration for the disks. You can play around with stripe widths,as well as mirroring instead of erasure coding to see what works best for you.
Ensure you set the memory to the correct amount. Step1 of the deployment will fail with an error if it finds less than 16GB.
User requirements
- You will need a non-root administrative user account with sudo (wheel group) privileges.
- Verify that you can login to each host as this non-root user.
Network requirements
- All VMs must be on the same network
- Make sure all VMs can resolve each others hostnames (I added all 4 nodes to each others /etc/hosts file also)
- Disable rpcbind, as ECS will provide NFS connectivity on this port (111)
- systemctl disable rpcbind
- systemctl mask rpcbind
- Make sure the install host is trusted by its firewall (replace x.x.x.x with ip address of install host)
- firewall-cmd –permanent –zone=trusted –add-source=x.x.x.x/24
- firewall-cmd –reload
If you do not disable rpcbind, step1 of the deployment will fail with port conflicts.
Misc. requirements
- If deploying on Centos 7, make sure you disable SELinux in /etc/selinux/config. Otherwise you will not be able to launch docker, which is part of the install process.
Install the software
- On the designated install/bootstrap node, install “git”. This is needed to pull down the ECS software.
- sudo yum install git
Now use git to download the software as follows:
[chogan@ecs-node-1 ~]$ git clone https://github.com/EMCECS/ECS-CommunityEditionCloning into 'ECS-CommunityEdition'...
remote: Counting objects: 4394, done.
remote: Compressing objects: 100% (14/14), done.
remote: Total 4394 (delta 2), reused 3 (delta 0), pack-reused 4380
Receiving objects: 100% (4394/4394), 4.62 MiB | 1.57 MiB/s, done.
Resolving deltas: 100% (2771/2771), done.
[chogan@ecs-node-1 ~]$ cd ECS-CommunityEdition/
[chogan@ecs-node-1 ECS-CommunityEdition]$ ls
bootstrap_plugins   contrib   Jenkinsfile  README.md     tests
bootstrap.sh        docs      license.txt  README.rst    tools
CODE_OF_CONDUCT.md  examples  patches      release.conf  ui
[chogan@ecs-node-1 ECS-CommunityEdition]$
Modify the deployment yml file
A sample deploy.yml file is shipped with the software. You need to copy it to the ECS-CommunityEdition folder and modify it accordingly.
[chogan@ecs-node-1 ECS-CommunityEdition]$ cp docs/design/reference.deploy.yml deploy.yml
[chogan@ecs-node-1 ECS-CommunityEdition]$ vi deploy.yml
licensing:
 license_accepted: true

facts:
  install_node: 10.27.51.141

 ssh_defaults:
  ssh_username: chogan
  ssh_password: xxx
  ansible_become_pass: xxx

 node_defaults:
  dns_domain: rainpole.com
  dns_servers:
  - 10.27.51.252
  ntp_servers:
  - time.vmware.com

storage_pool_defaults:
 ecs_block_devices:
 - /dev/sdb

storage_pools:
 - name: sp1
 members:
 - 10.27.51.141
 - 10.27.51.142
 - 10.27.51.143
 - 10.27.51.144
options:
 ecs_block_devices:
 - /dev/sdb
Start the deployment
[chogan@ecs-node-1 ECS-CommunityEdition]$./bootstrap.sh -c deploy.yml -y
>
>  ECS Community Edition Install Node Bootstrap 2.5.2r
>  ECS Software Image emccorp/ecs-software-3.1.0:hf1
> ~~~~~~~~~~~~~~~~~~~~~~~~~~~~~~~~~~~~~~~~~~~~~~~~~~~~~~~~~~~~~~~~~
>
.
.
Run step1
[chogan@ecs-node-1 ECS-CommunityEdition]$ step1
[sudo] password for chogan:
ecs-install> Initializing data container, one moment ... OK
ecs-install> Applying deploy.yml
.
.
Run step2
Once step1 is completed, it is now time to start step2. This step takes care of licensing, creating storage pools, VDCs, replication groups, namespaces, as well as initial users. Here is an example output from a step2 run taken from my deployment. Again, I’ve truncated the output as there is simply too much to display.
[chogan@ecs-node-1 ECS-CommunityEdition]$ step2
> Pinging Management API Endpoint until ready
> Pinging endpoint 10.27.51.141... (CTRL-C to break)
.
.
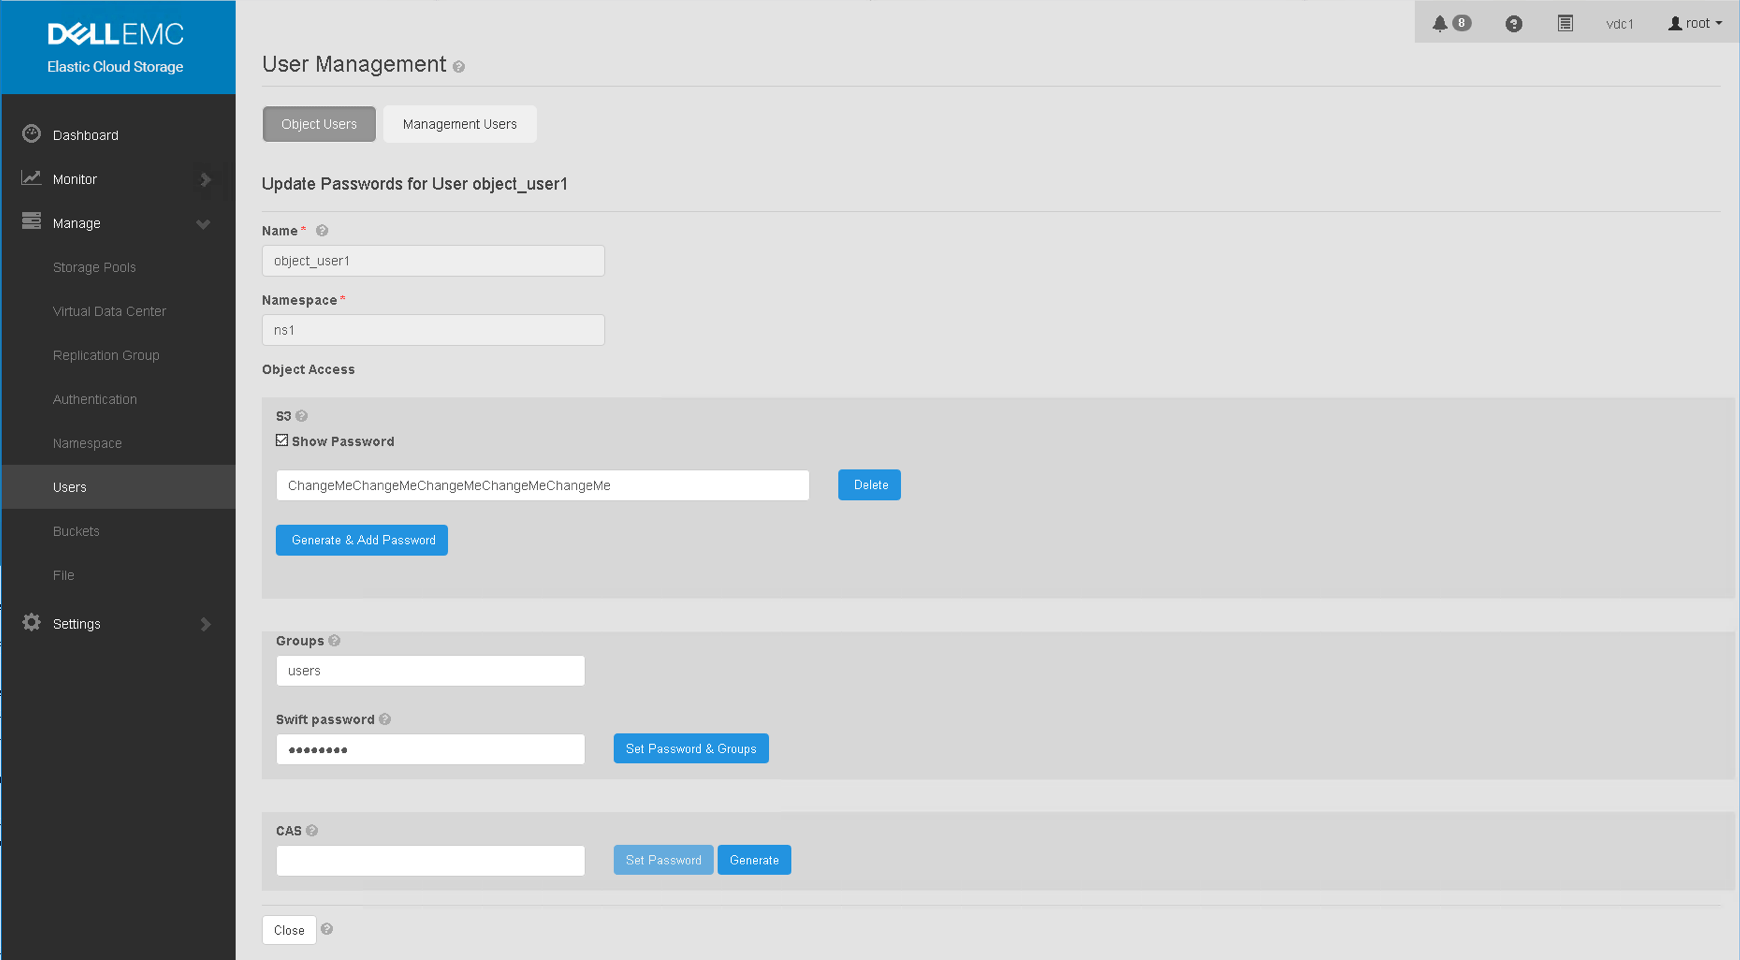
Complete setup via UI
Now we are ready to login to the UI, and finish off the checklist. Point a browser to https://<install-node> and you should get the ECS login as shown below. The default login credentials are root/ChangeMe.


Summary
This did take a little bit of planning to get up and running. However it does offer way more data services than just S3, which is the only one I have looked at so far. I’ll try to find time to investigate how well the other ECS services work on top of vSAN. Overall, a nice solution.